The perfect Turkey takes time and patience. Sometimes it takes the skilled hand of an experienced chef to accomplish the result of both crispy skin and juicy meat. And yet other times, it simply takes a tried and true recipe like the one below that has been adapted from Melissa Clark's New York Times recipe.
The Perfect Turkey recipe is the closest I've found that can compare to the awesome flavor of a deep-fried turkey. (And if you've never tried, deep-fried turkey, you don't know what you're missing!)
The first thing you should know about this recipe is that is includes 1-3 days of brining time in the refrigerator. This is a "dry brine" (salt and herbs), different than my Perfect Turkey Brine recipe. If you want to skip the brining part, you can definitely do so, but I think you would be doing your taste buds a disservice. Besides, it only takes a few minutes to prep and a little planning ahead of time. Oh, and it will take some valuable refrigerator real-estate. But it's all worth it.
Cooking the Perfect Turkey
There is only one thing worse than overcooking a turkey --- and that's undercooking a turkey. Considering many people skip breakfast and lunch on Thanksgiving day, in order to prepare to gorge themselves later on, there is no greater disappointment than somebody saying "Uh oh, I don't think it's supposed to be this pink." It's not like you can pop a whole turkey back into the microwave for a few minutes. So, here are some helpful and surefire tips to prevent disaster:
- Invest in a meat thermometer. Your turkey is done when the thickest part of a thigh reaches a temperature of 165 degrees.
- Unstuffed turkeys cook faster than stuffed turkeys. The general rule for cooking a large bird is about 20 minutes a pound.
- A stuffed turkey will take up to 30 minutes more than one that is unstuffed.
Spatchcocking the Turkey (Option)
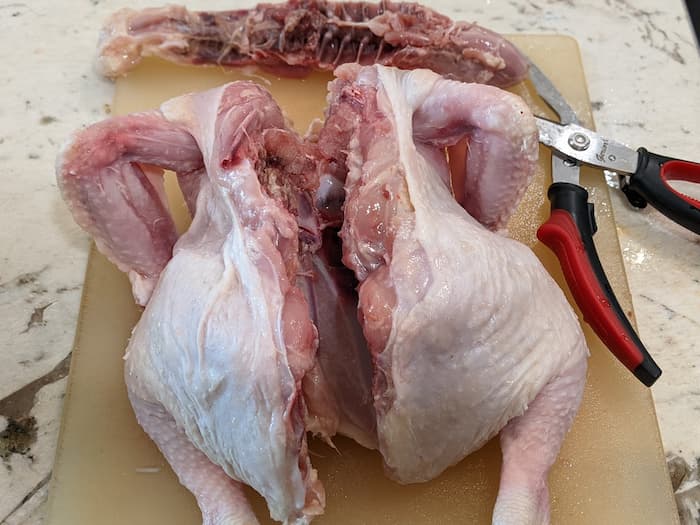
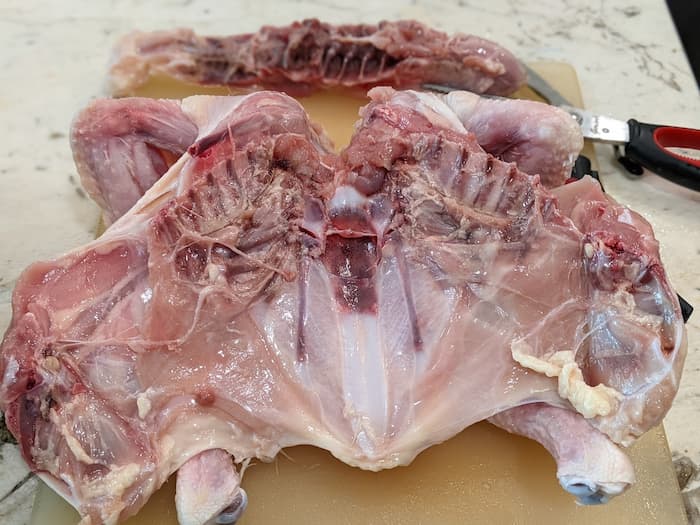
The term “spatchcock” is rumored to be a 17th century shorthand for “dispatching the cock”, meaning to open a chicken carcass in order to cook it. This technique involves splitting the chicken by removing the backbone so you can flatten it, resulting in crispier skin and even, quicker cooking.
It requires the following steps:
- Place the turkey on a cutting board breast-side down and remove the backbone. To cut down one side of the backbone, use a pair of sharp kitchen shears. On the opposite side, repeat. Save the backbone for stock-making or discard it.
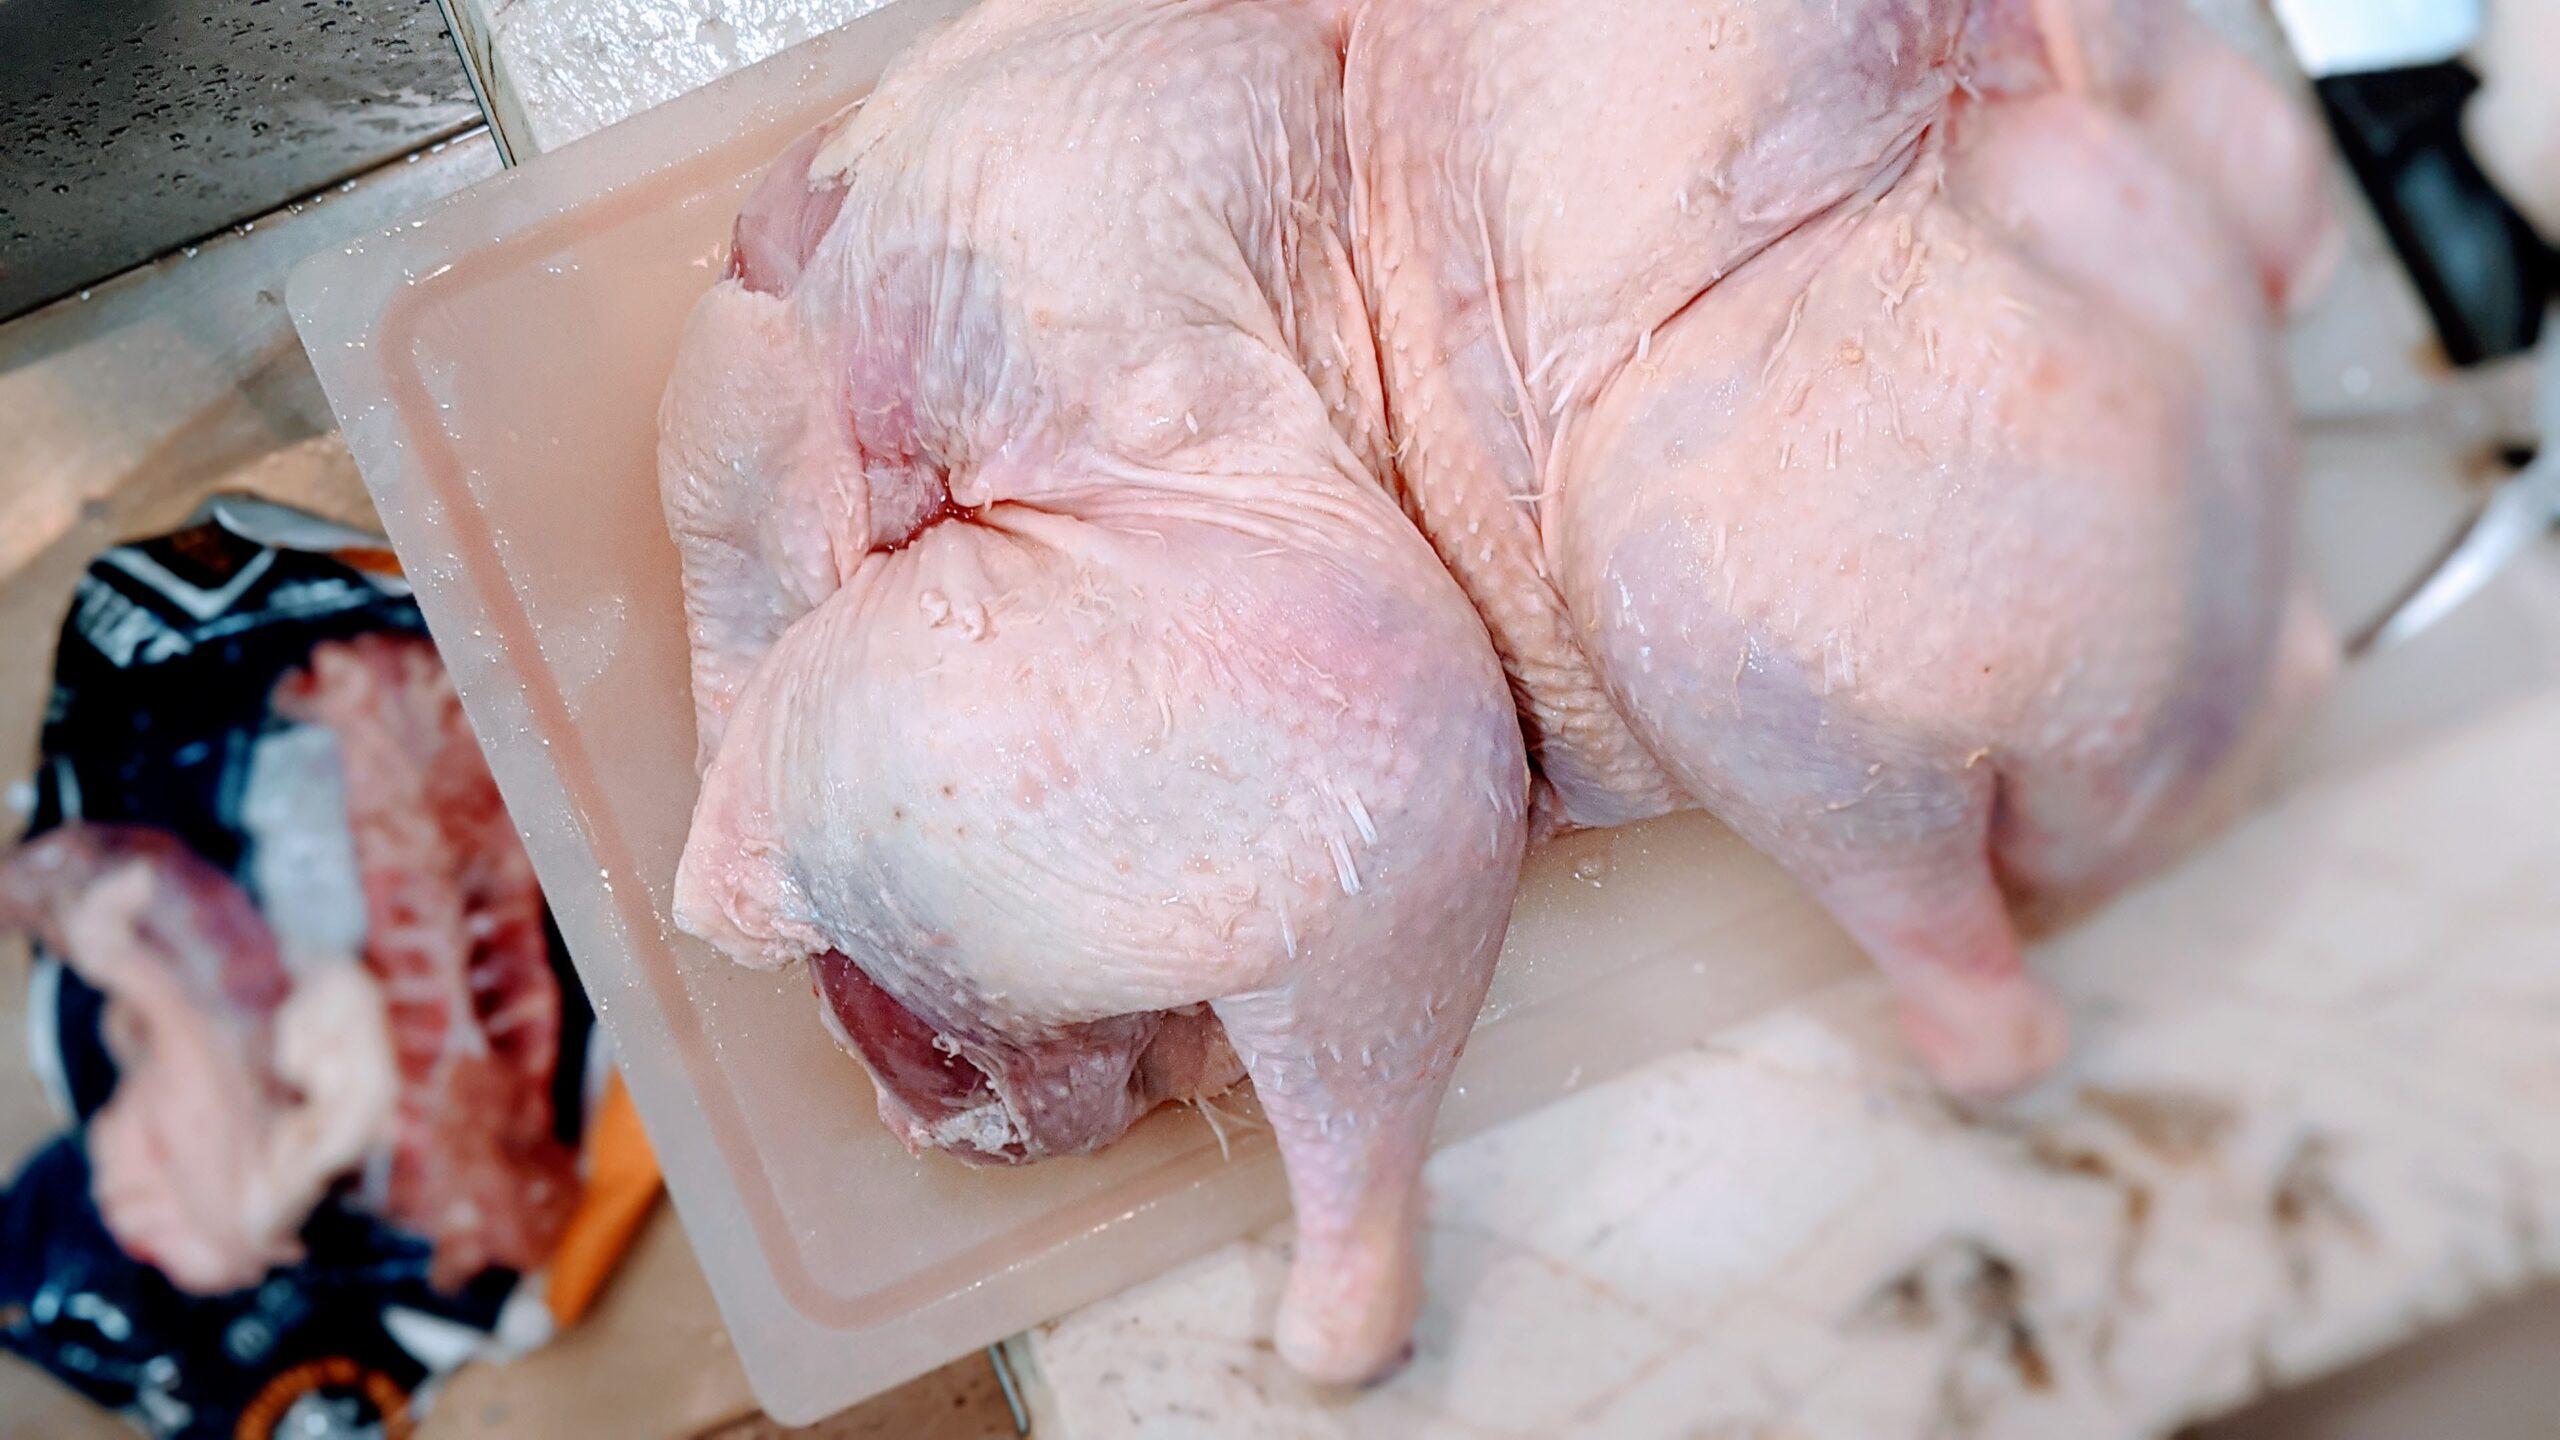
- Break the breastbone: Firmly crush the breastbone with the palm of your hand until you hear a crack. Make the turkey that has been spatchocked as flat as you can.
You really need a heavy duty pair of poultry shears to spatchcock a turkey. It's takes some effort, but the end result is so worth it. The cooking time is greatly reduced. The poultry is move evenly cooked. And, there is usually more crispy skin since more surface area is directly exposed to the heating elements.
A turkey between 10-12 pounds is the best size for most pans. The maximum weight is about 16 pounds in order to fit a spatchcocked turkey into most tin pans.
Cooking Times and Temperatures
The jury is out on cooking temperature. Some people prefer to slow cook their turkeys at a lower temperature (325 degrees). I agree if you have a large bird as air doesn't circulate as well. However, this recipe is for a smaller turkey 10-12 pounds. In this case, I prefer to cook it for 30 minutes at a higher temperature (425 degrees) to crisp the skin, then cover it with aluminum foil, while dropping the temperature to 350 degrees for the remaining time.
Spatchcocked Turkey Cooking Time and Temperature (Optional)
Roasted at 450 degrees, a 10-pound bird will be done in about 45 minutes. Really. Remember to check the internal temperature of the thickest part of the bird. It should be 165 degrees F.
No matter which style you prefer, I'm sure you'll love this recipe and find it to be one of the most flavorful and moist turkey recipes.
Happy Thanksgiving!
Don't forget to try my other Thanksgiving recipes.
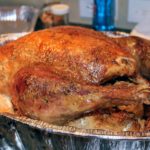
The Perfect Turkey
DESCRIPTION
INGREDIENTS
- 1 turkey (10 to 12 pounds)
- 3-5 teaspoon coarse kosher salt (½ teaspoon per pound for brine)
- 1 tablespoon black pepper
- 1 lemon (zested and quartered)
- 1 bunch fresh thyme or rosemary
- 1 bunch fresh sage
- 12 cloves garlic (smashed and peeled)
- 12 oz hard apple cider
- dry white wine (as needed)
- 2 onions (peeled and quartered)
- 3 bay leaves
- olive oil or parve margarine (as needed)
INSTRUCTIONS
PREPARATION
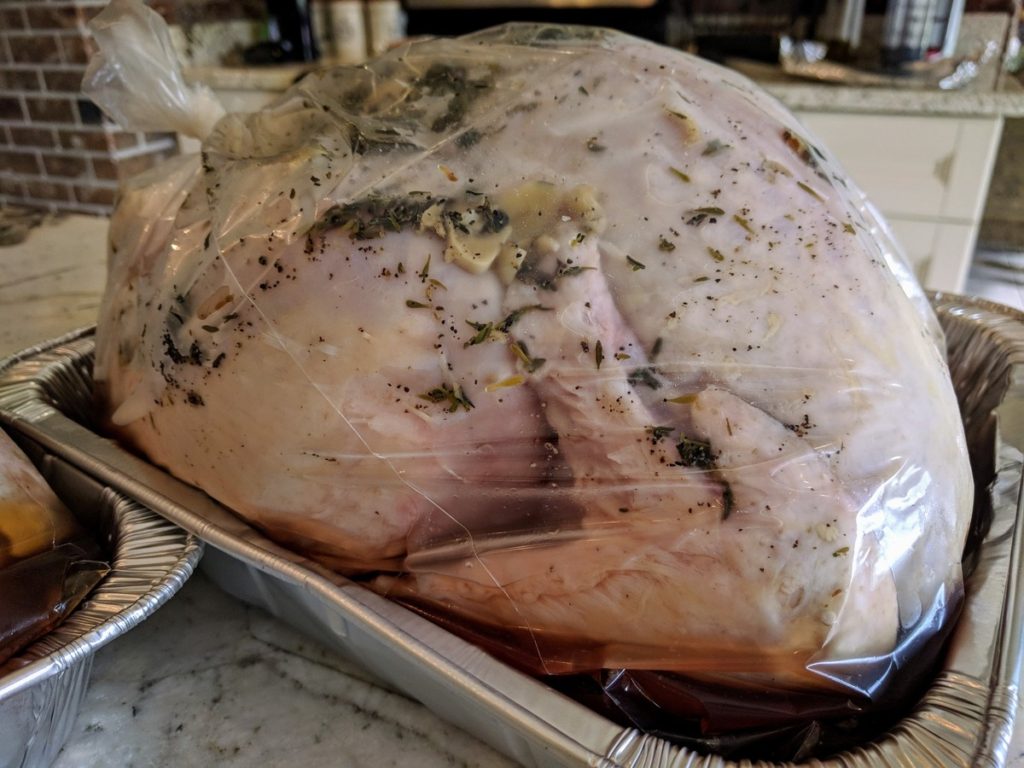
- Remove any giblets from the cavity and reserve for stock or gravy. Pat turkey and turkey neck dry with paper towel; rub turkey all over with ½ teaspoon salt per pound of turkey, the pepper and the lemon zest, including the neck. Transfer to a 2-gallon (or larger) resealable plastic bag. Tuck herbs and 6 garlic cloves inside bag. Seal and refrigerate on a small rimmed baking sheet (or wrapped in another bag) for at least 1 day and up to 3 days, turning the bird over every day (or after 12 hours if brining for only 1 day).
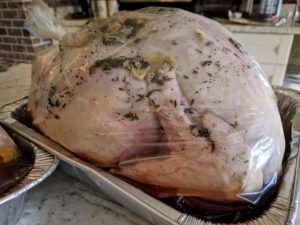
- Remove turkey from bag and pat dry with paper towels. Place turkey, uncovered, back on the baking sheet. Return to the refrigerator for at least 4 hours and up to 12 hours to dry out the skin (this helps crisp it).
- When you are ready to cook the turkey, remove it from the refrigerator and allow it to come to room temperature for one hour.
- Heat oven to 450 degrees. In the bottom of a large roasting pan, add the cider and enough wine to fill the pan to a ¼-inch depth. Add half the onions, the remaining 6 garlic cloves and the bay leaves. Stuff the remaining onion quarters and the lemon quarters into the turkey cavity. Brush the turkey skin generously with oil.
- Place turkey, breast side up, on a roasting rack set inside the roasting pan. Transfer pan to the oven and roast 30 minutes. Cover breast with aluminum foil. Reduce oven temperature to 350 degrees and continue roasting until an instant-read thermometer inserted in the thickest part of a thigh reaches a temperature of 165 degrees, about 1 ½ to 2 hours more. Transfer turkey to a cutting board to rest for 30 minutes before carving.


Leave a Reply