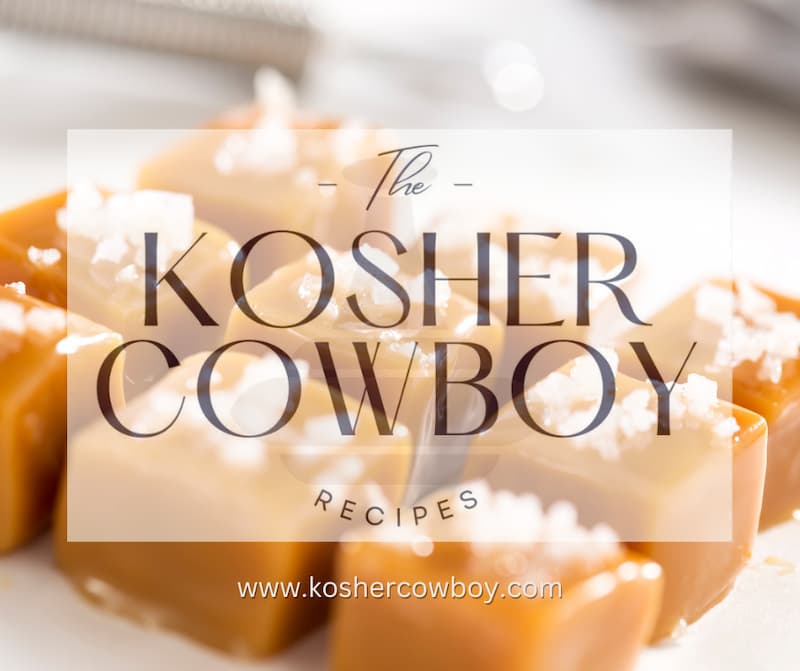
If you’re a fan of the irresistible combination of sweet and salty, then this easy microwave salted caramel recipe is perfect for you. Whether you’re looking to satisfy a sudden craving or prepare a delightful homemade gift, this recipe allows you to whip up delicious salted caramels in just a few minutes. Using basic ingredients and a microwave, you can create a treat that tastes like it came from a gourmet candy shop.
A Brief History of Caramel
Caramel has a rich history that dates back centuries. The word “caramel” comes from the Spanish word “caramelo,” which itself is derived from the Latin “cannamellis,” meaning “sugar cane.” Early forms of caramel were likely first created by the Arabs, who were known to melt sugar and form it into various shapes and textures.
In the 17th century, caramel became more refined as sugar production techniques improved. By the 18th and 19th centuries, caramel had become a popular treat in Europe and America. It was during this time that caramel candies, as we know them today, began to be produced. The addition of ingredients like butter and cream led to the development of the rich, smooth caramels that are beloved worldwide.
Salted caramel is a more recent innovation, attributed to French pastry chef Henri Le Roux in the late 20th century. His creation of salted butter caramel in the 1970s combined the traditional sweet flavor of caramel with a hint of saltiness, creating a flavor profile that has become incredibly popular in desserts and confections.
Why You’ll Love This Salted Caramel Recipe
Making salted caramel at home can seem daunting, but this easy microwave salted caramel recipe simplifies the process. You don’t need a candy thermometer or any special equipment—just a microwave-safe bowl and a few common ingredients. The result is a rich, buttery caramel with the perfect balance of sweetness and a hint of saltiness.

Tips for Perfect Microwave Salted Caramel
- Use Salted Butter: The recipe calls for salted butter, which adds a depth of flavor and balances the sweetness of the sugars and condensed milk.
- Choose Light Corn Syrup: Light corn syrup helps prevent the sugar from crystallizing, ensuring a smooth and chewy caramel texture.
- Microwave Safety: Because the mixture will become very hot, it’s essential to handle the bowl carefully using oven mitts or a thick towel.
- Adjusting Microwave Time: Microwave times can vary. Start with the recommended time and check the caramel. If needed, you can add a few more seconds to reach the desired consistency.
- Adding Vanilla: Stirring in the vanilla extract after microwaving preserves its delicate flavor, adding a warm, aromatic note to your caramels.
- Cooling and Cutting: Allow the caramel to cool completely before cutting. For cleaner slices, refrigerate the caramel until it is firm.
Serving and Storing Your Salted Caramels
Once your caramel has cooled and set, you can cut it into small squares or any shape you prefer. If you want to add an extra touch, sprinkle sea salt on top while the caramel is still warm. This not only enhances the flavor but also gives the caramels a professional look.
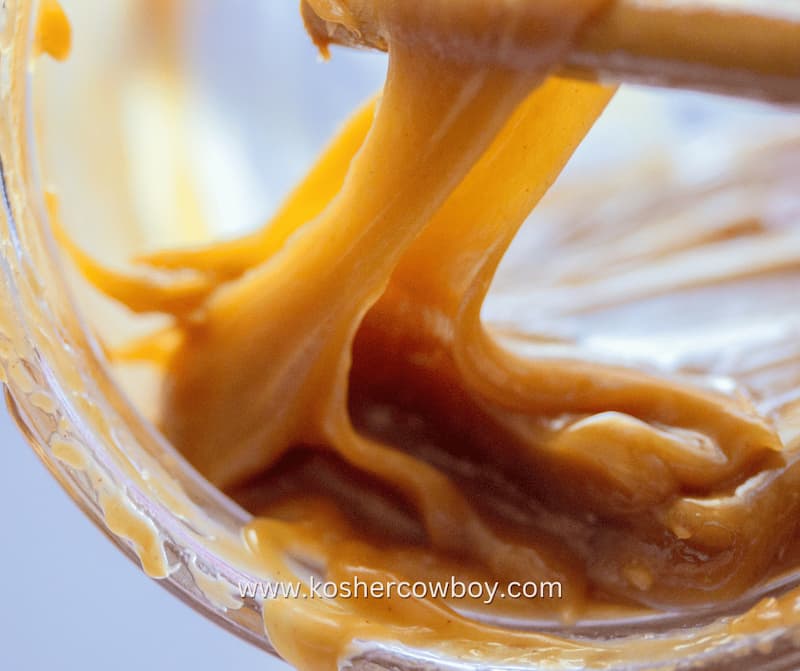
For storage, wrap each caramel piece in wax paper to prevent them from sticking together. These caramels make excellent gifts—place them in a decorative tin or a small gift box for a personal touch.
Enjoying Homemade Salted Caramel
Homemade salted caramel is a versatile treat. You can enjoy it on its own, melt it over ice cream, stir it into coffee, or use it as a filling for chocolates and pastries. The possibilities are endless, and the satisfaction of making your own caramel from scratch is immensely rewarding.
This easy microwave salted caramel recipe is a fantastic way to create a gourmet treat with minimal effort. Perfect for last-minute dessert needs or thoughtful homemade gifts, these salted caramels are sure to become a favorite in your recipe collection. Try it today and delight in the deliciously rich and perfectly balanced flavor of homemade salted caramel.
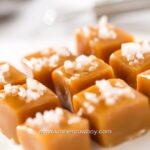
Salted Caramel Recipe (Microwave)
DESCRIPTION
INGREDIENTS
- Ingredients:
- 1/2 cup salted butter (1 stick, 8 tbsp, melted in a large mug or microwave-safe bowl)
- 1/2 cup light corn syrup (Karo works great)
- 1/2 cup granulated sugar
- 1/2 cup light brown sugar
- 1/2 cup sweetened condensed milk
- 1 teaspoon vanilla extract
- Optional: Sea salt for topping
INSTRUCTIONS
- Instructions:
- Prepare the Dish: Butter an 8×8 baking dish or line it with parchment paper to prevent sticking.
- Melt the Butter: In a large microwave-safe bowl, melt the butter in the microwave.
- Combine Ingredients: Add the light corn syrup, granulated sugar, light brown sugar, and sweetened condensed milk to the melted butter. Stir until well mixed. If you’re not using sea salt as a topping, add 1/4 teaspoon of table salt to the mixture at this point to enhance the flavor.
- Microwave the Mixture: Microwave the mixture for 6 minutes and 30 seconds. Microwaves can vary in power, so keep an eye on it to prevent it from boiling over.
- Add Vanilla Extract: Carefully remove the hot bowl from the microwave using oven mitts. Stir in the vanilla extract.
- Pour and Cool: Pour the hot caramel mixture into the prepared baking dish. If you like a salty-sweet contrast, sprinkle sea salt on top while the caramel is still warm.
- Set the Caramel: Allow the caramel to cool completely at room temperature. For easier slicing, place it in the refrigerator until firm.
- Slice and Store: Once the caramel has set, cut it into pieces. Wrap each piece in wax paper to prevent them from sticking together. Enjoy your homemade salted caramels!
Notes
Once your caramel has cooled and set, you can cut it into small squares or any shape you prefer. If you want to add an extra touch, sprinkle sea salt on top while the caramel is still warm. This not only enhances the flavor but also gives the caramels a professional look. For storage, wrap each caramel piece in wax paper to prevent them from sticking together. These caramels make excellent gifts—place them in a decorative tin or a small gift box for a personal touch.
NUTRITION
See more dessert ideas at Kosher Cowboy.

